
It’s one of the most important additions we’ve made to the platform – the ability to capture your screen and make a narrated video walkthrough. Use the Screen Capture for Presentations, Softwares, and Desktop Applications. THEN – amazingly – transform your own narration into an SOP for others to follow as a step-by-step that’s editable.
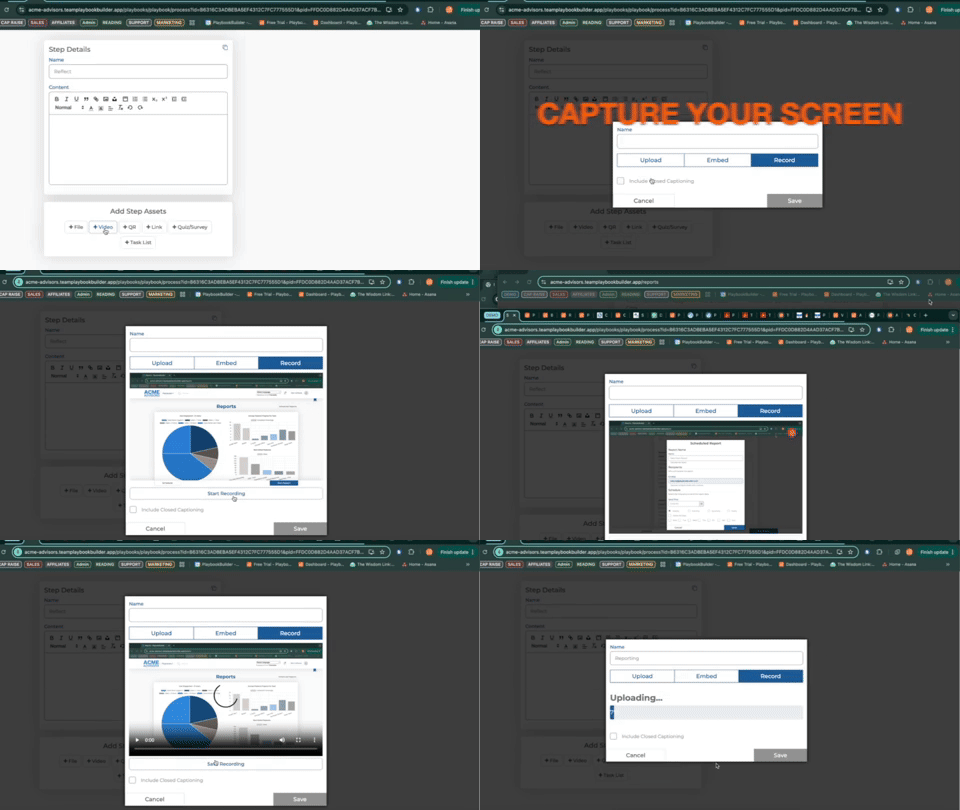
SELECT “VIDEO” as a new ASSET
Inside of a STEP you will select the Asset type of Video.
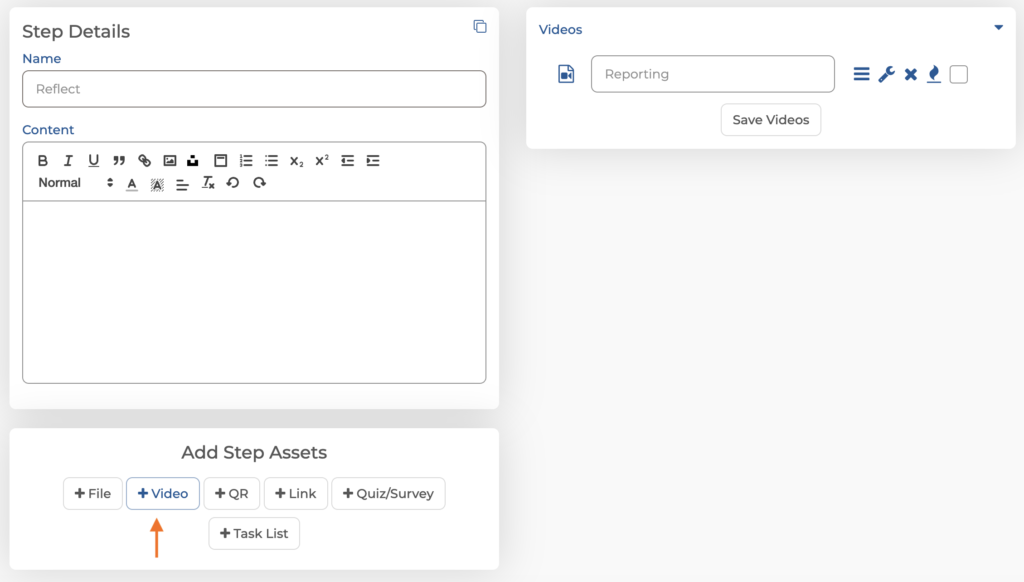
Select RECORD and then RECORD SCREEN
First, select RECORD – shown in blue along the top of the image below.
Second, select the large button: Record Screen on the LEFT.
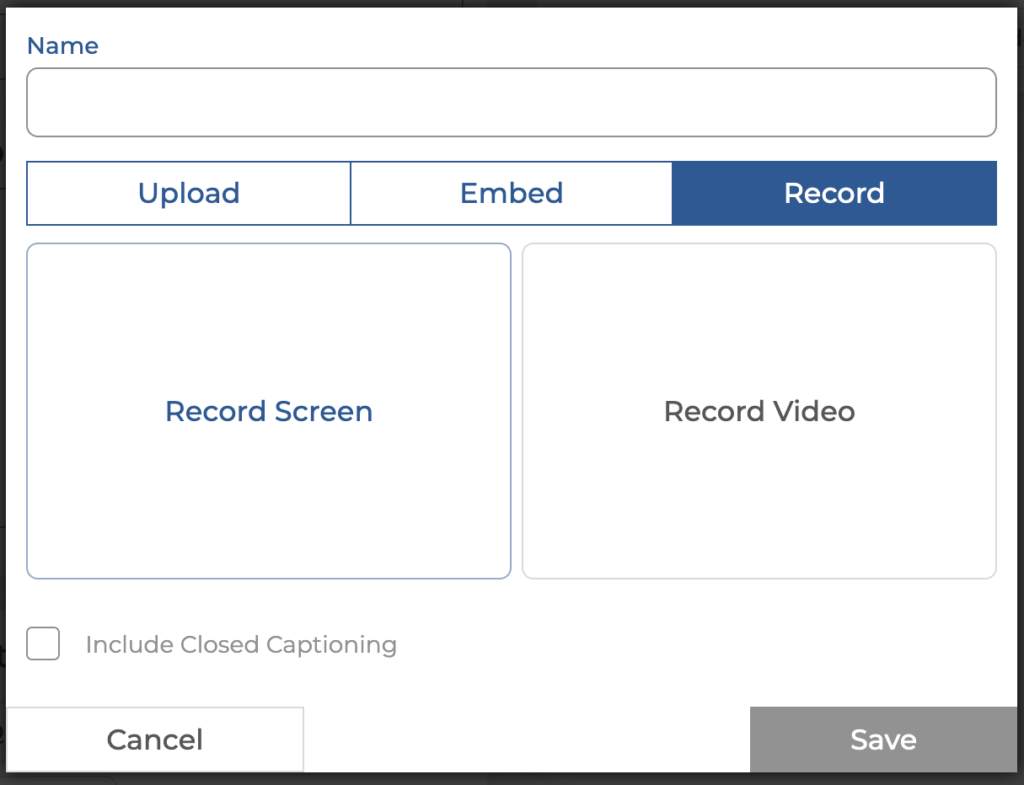
Select the TAB, WINDOW, or ENTIRE SCREEN
Once you select RECORD this window (shown below) will pop up. Select the Chrome Tab, Window, or Entire Screen to capture.
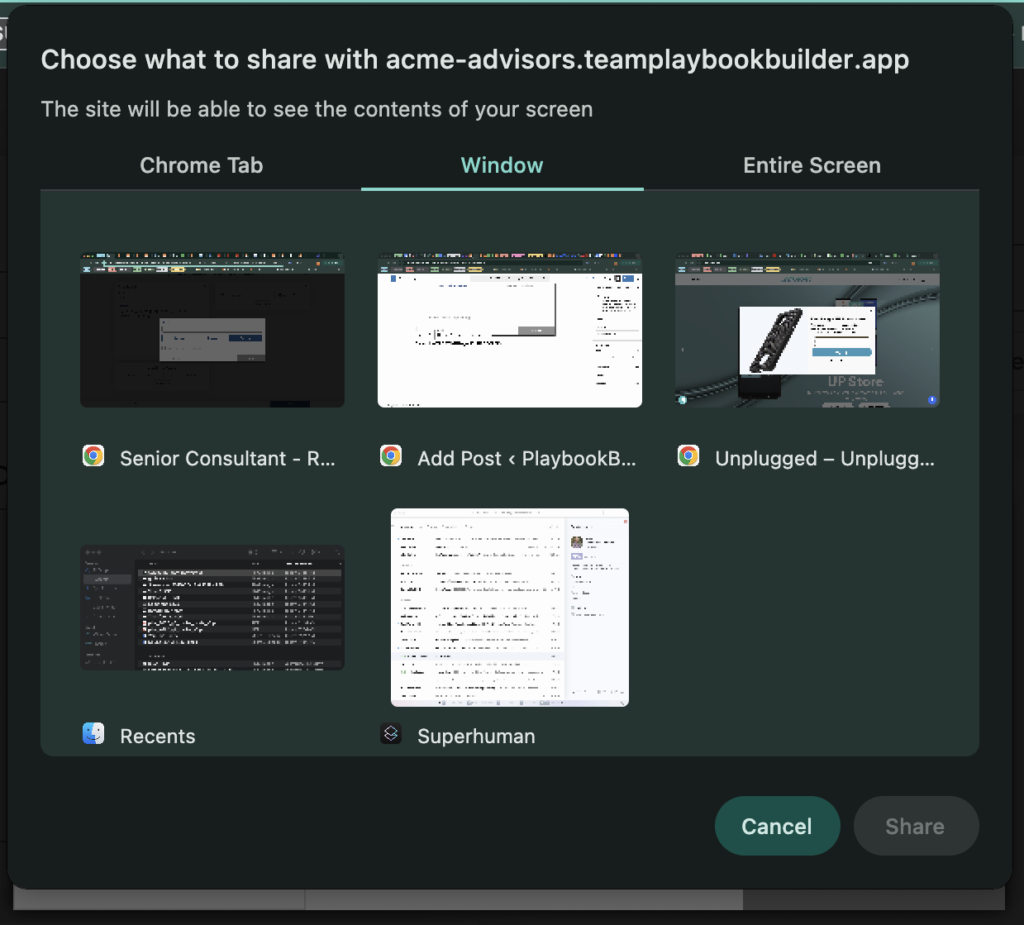
Record the VIDEO
Once selected, start recording your video and return to the Tab, Window or Screen and make your narrated video walkthrough.
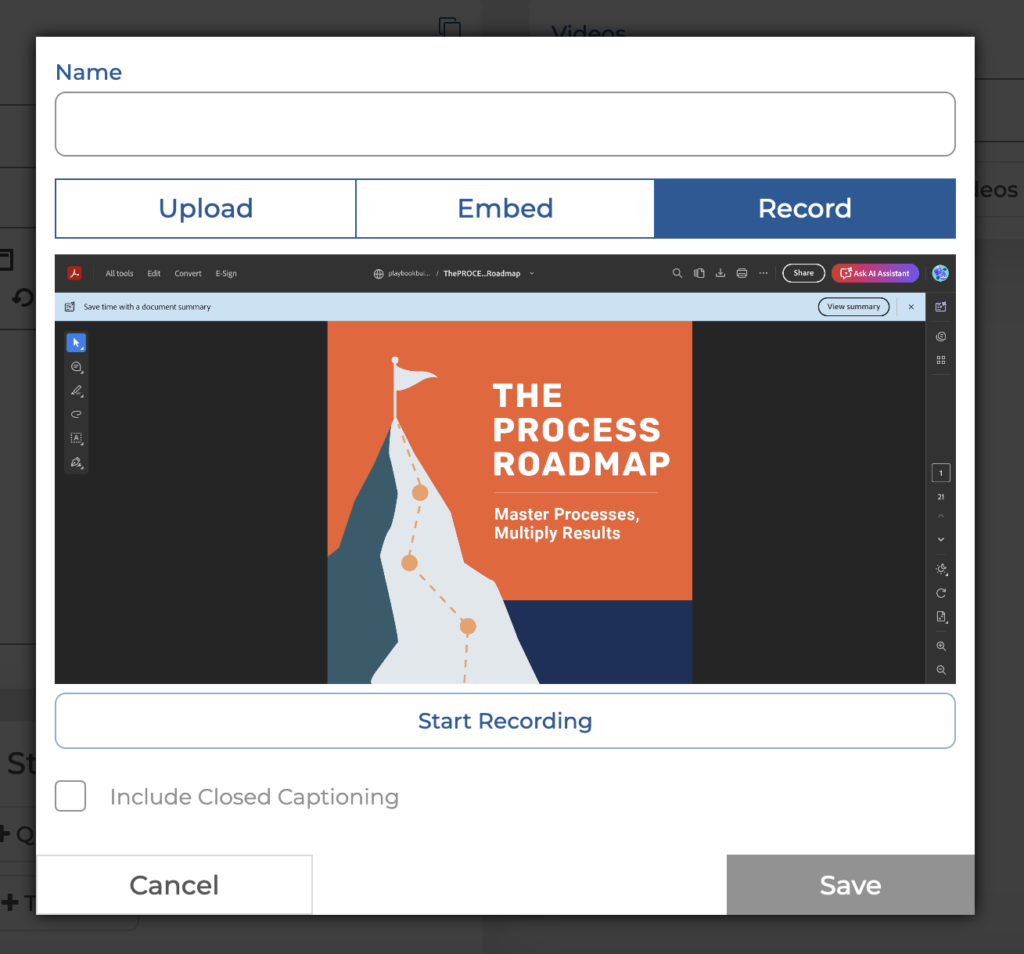
NAME and SAVE the video
Once complete – Name and Save your video.
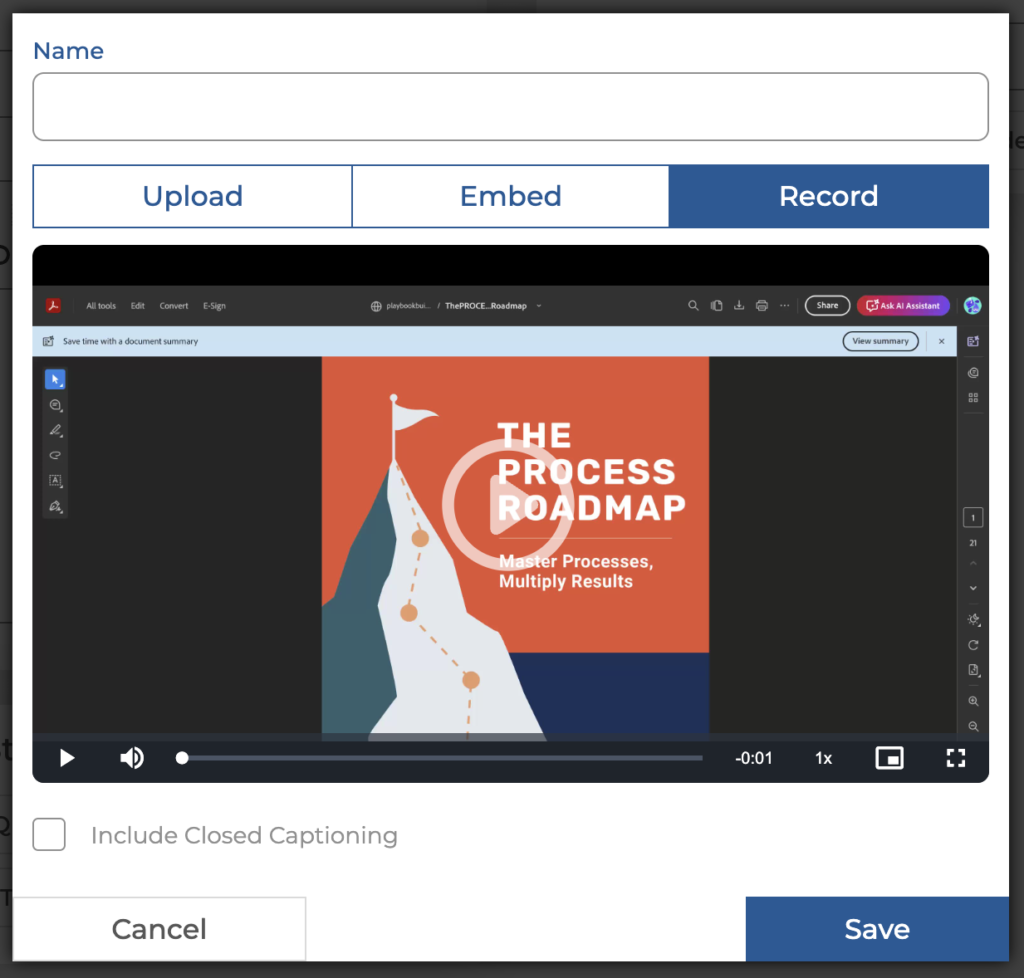
TRANSFORM to SOP
Once your video has completed the PROCESSING phase of the video uploading process, it is ready to be converted into an SOP.
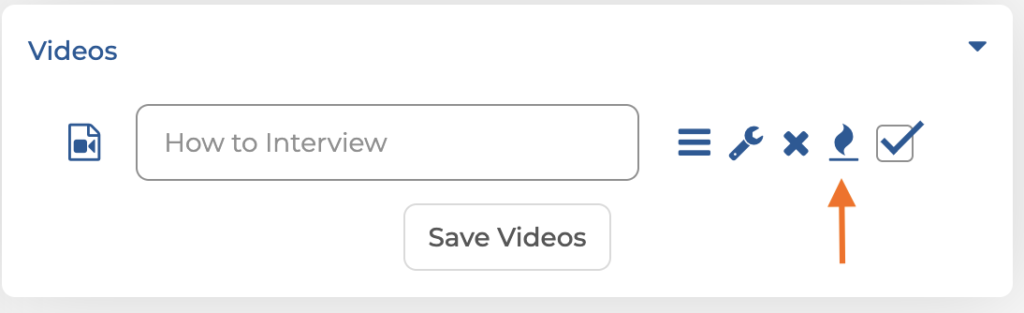
COMPLETED OR ERROR?
When the video is complete – it will convert into text when prompted.
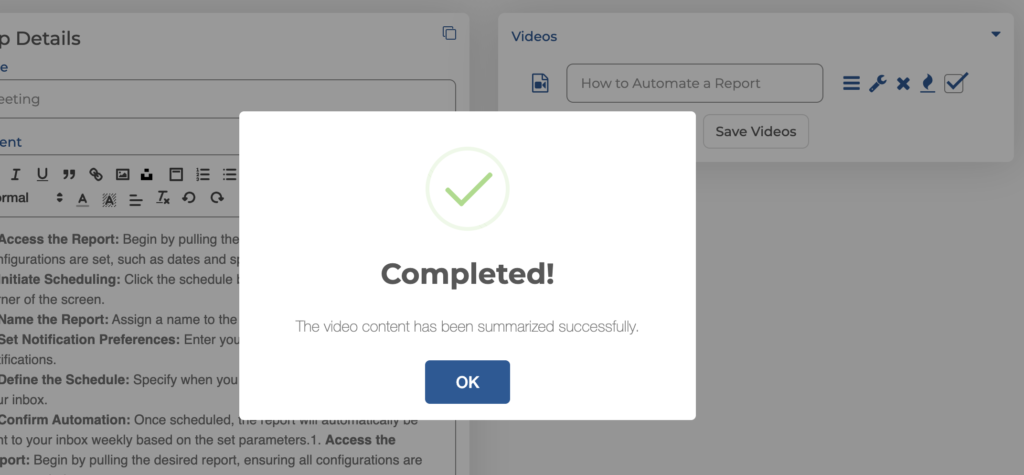
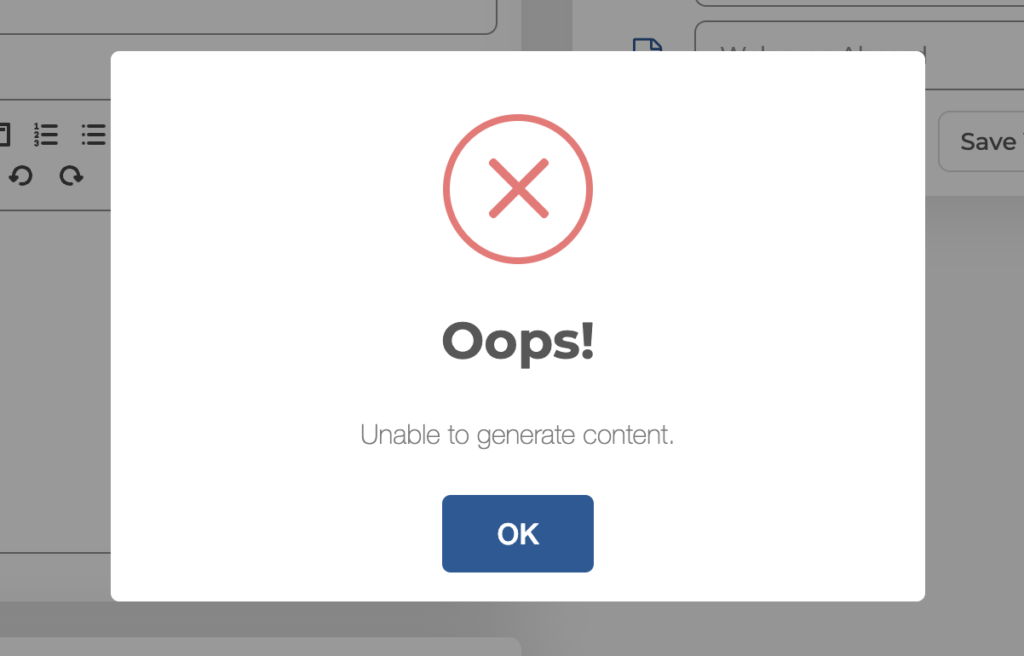
if you receive an error- try again. You may have tried to convert the file too quickly. However, if the file is large, your internet may timeout while converting. Try again when your wifi is stronger or on a different device.
Issues Sharing Your Screen?
If you’re having issues capturing your screen you might need to adjust the privacy settings on your computer:
MAC VERSION
1. Verify macOS Screen Recording Permissions
- Go to System Settings (or System Preferences) → Privacy & Security → Screen Recording.
- Ensure Google Chrome (or whichever browser is used) is checked.
- If it’s already checked, try:
- Unchecking it.
- Restarting the browser.
- Re-checking it.
- After changing this setting, a system restart or logout/login might be required for changes to take effect.
2. Check Full Disk Access (if applicable)
- Sometimes, apps need Full Disk Access for recording certain content.
- Go to Privacy & Security → Full Disk Access.
- Add Chrome here if not present and restart the browser.
3. Confirm Browser Version and Updates
- Ensure Chrome is updated to the latest version.
- Older versions might have bugs affecting screen capture permissions.
4. Test in a Different Browser
- Try the same screen sharing in Safari or Firefox on the Mac.
- If it works there, the issue is likely Chrome-specific.
PC VERSION:
1. Verify Windows Privacy Permissions
Go to Settings → Privacy & security → Screen recording
(or Camera and Microphone, depending on the browser and app requirements).
Make sure your browser (e.g., Google Chrome, Microsoft Edge, etc.) is allowed to access the screen.
If your browser isn’t listed, try toggling the main switch on under “Let apps access your screen.”
2. Check App Permissions for Camera and Microphone
Some screen sharing tools also require access to your camera or microphone, even if you’re not using them.
Go to Settings → Privacy & security → Camera and Microphone.
Make sure your browser is enabled under each section.
3. Restart Browser and Try Again
After updating permissions:
• Fully close your browser (not just the tab)
• Restart it
• Attempt screen sharing again
If that doesn’t work, reboot your PC to apply system-wide permission changes.
4. Confirm Browser is Updated
Open your browser and go to:
• Chrome: chrome://settings/help
• Edge: edge://settings/help
Make sure you’re using the latest version. Updates can fix screen capture bugs and permission issues.
5. Test in a Different Browser
Try using the same app in a different browser (e.g., Chrome, Edge, or Firefox).
If screen sharing works in one but not another, the issue may be browser-specific.