
Set up a scheduled report to arrive in your inbox each day, week, month or quarter. We’ll show you how.
Below is a quick step by step for creating scheduled reports that can arrive in your inbox.
Questions:
Can I make more than one report scheduled? YES
Can I set it so more than one person gets the report? YES
Can I adjust it once I create it to change the settings? YES
Will this make my life better? YES
STEP ONE: Create a Report
Using your preferred settings, create a report.
STEP TWO: Create the automation
Select the SCHEDULE button the bottom of the page
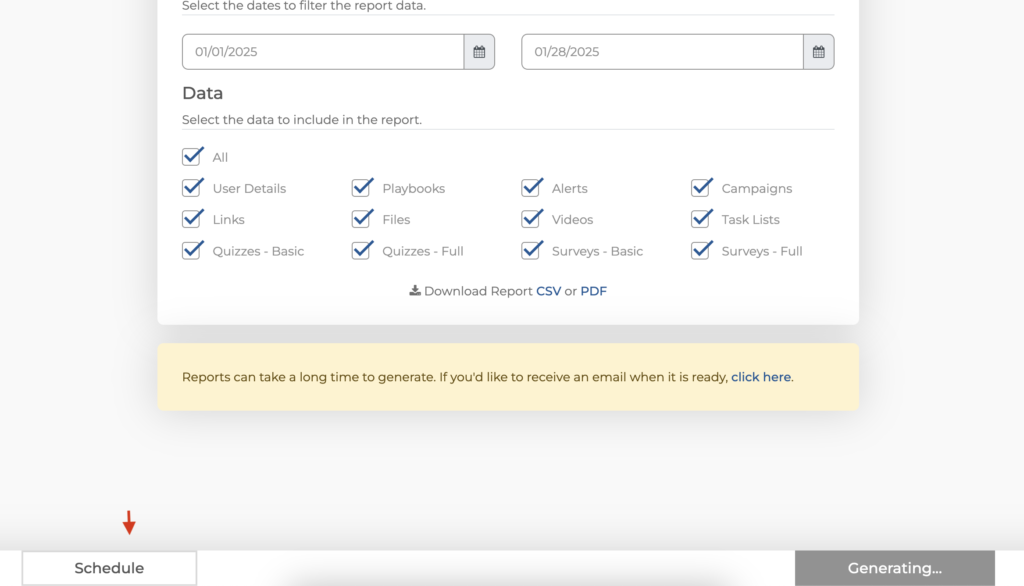
Once you click SCHEDULE, you’ll see the pop up for setting up your automation.

A. Add your report NAME e.g. Weekly Sales Team Report, or Monthly Team Report
B. Add your email or that of others on the team. If you’d like multiple people to get the report, simply add their emails but separate with a comma.
C. Select your scheduled report send time
D. Frequency. – Weekly, Monthly, Quarterly, or Yearly
E. Select the Day of the Week or ALL Days
F. SAVE
You’ve now created a scheduled automation for that unique report.
STEP FOUR: Review your scheduled reports
To confirm, adjust, or delete a scheduled report automation select the SCHEDULED button on the TOP of the page.
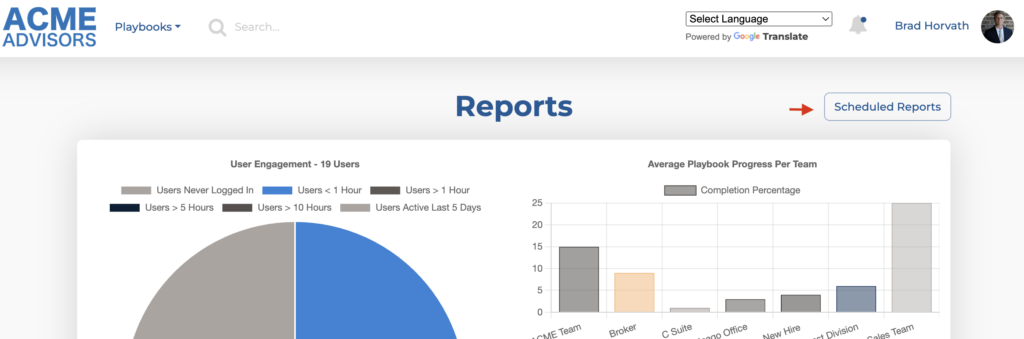
Once you select SCHEDULED REPORTS, you’ll see this pop up where you can select the correct report to Edit or Delete.
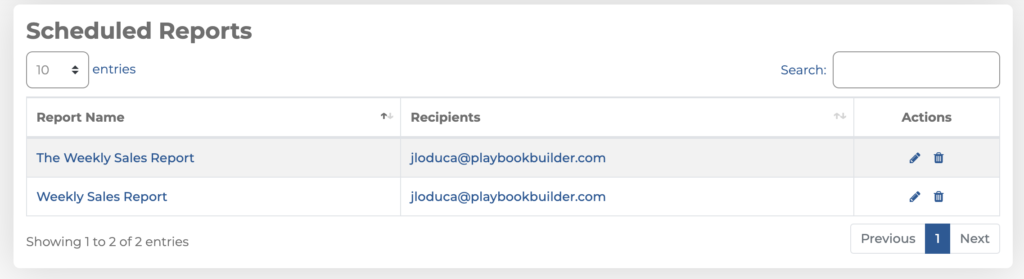
Once you select, you can easily change the settings to your needs.
Enjoy!